


Using Mobile Phone to build Reactjs projects.
React JS Introduction
React is a JavaScript library for building user interfaces. It was developed by Facebook and is now maintained by a large community of developers.
React allows developers to build reusable UI components, which can be easily composed to create complex user interfaces. This makes it easy to build and maintain large-scale web applications.
React components are typically implemented using a combination of JavaScript, JSX (a syntax extension for JavaScript), and CSS. JSX is a syntax that allows you to write HTML-like(XML) elements in your JavaScript code. This can make your code more readable and easier to understand since the structure of your components is clear from the code itself.
React uses a virtual DOM (Document Object Model) to optimize the performance of updates to the user interface. The virtual DOM is a lightweight representation of the actual DOM, and React uses it to keep track of changes to the UI. When something in the UI changes, React will update the virtual DOM, and then determine the most efficient way to update the actual DOM. This can lead to significant performance improvements in large web applications.
React also provides a powerful system for handling component states and props (short for properties), which allow components to communicate with each other. Props are used to pass data down to child components, and state is used to manage data that changes within a component.
Now that you have gotten on your what React is all about. Let’s get to how you will be able to build Reactjs projects with your phone on the go, or if you’re someone who doesn’t use pc to code like me.
Working with React requires the use of the terminal, as it helps you install react locally which already comes with required packages, such as the package.json file, Babel, and so on. These packages that come with react help to render your project to the browser faster and better.
And as you may have thought of- terminal on phone? Yes, we will be using Termux.
Our Terminal
Termux is a free and open-source terminal emulator and Linux environment for Android. It allows users to run a variety of Linux command-line tools on their Android device, making it possible to use the device as a portable development environment.
One of the main benefits of Termux is that it provides a fully-featured terminal environment on an Android device, which can be useful for tasks such as editing files, running command-line utilities, and even programming. This can be especially useful for developers who want to be able to work on their projects on the go or when a full-sized computer is not available.
Termux includes a package manager, similar to apt or yum on Linux, which allows users to easily install and manage a wide range of open-source software. This includes popular command-line tools such as Bash, Python, and Git, as well as many other utilities and libraries.
Additionally, Termux also provides a set of command-line tools that are specifically designed to work on Android, such as the termux-notification and termux-location commands, which allow you to display notifications and get the device's current location, respectively.
This application is available on PlayStore, GitHub, and F-droid. But it’s not advisable to download from PlayStore as the application is not being maintained there as recently. I advise you to download and install it from GitHub using this repository https://github.com/termux/termux-app .
After installation, you need to update and upgrade all packages available in the application, and this is done using the command;
pkg update && upgrade
After that, we set up our storage that is allowing termux to access our root directory. And this can be done in two ways, by opening your phone setting and authorizing Termux storage access, or by using this command
termux-setup-storage
After that, you can use these commands to check the current directory and open up the storage folder respectively from the termux terminal. Just like your normal command line.
pwd ls cd storage
When inside the storage folder, using the command “cd storage”. We can now install packages.
But here we are only interested in Reactjs. And if you don’t know yet, before you can do anything with react, you’ve to first install nodejs. So to install nodejs in our termux terminal we use this command
pkg install nodejs
This may take a few minutes depending on your network speed.
Starting React
After the installation of nodejs is complete. We create react app globally, it’s a kind of installation. Since nodejs is installed in our system already, we will be using “npm” to achieve this.
npm i -g create-react-app
After that I want you to head over to playstore now and download the code editor “Acode” it’s my favorite in working with react. It is where we will be editing and creating our app components. After downloading that, come back to our terminal and run this command to create your own react app locally
npx create-react-app "your choice of name here"
This too will take a few seconds. After that, a development server will be created and all necessary packages will be downloaded with it. It will show you a few commands you can run on this application like “npm start” to start the application, “npm test” for testing, etc. But the command we are interested in here is
npm start
And this will start the server and automatically open up the browser for visualization.
Then now open the Acode app, click on the menu tab, at the top left corner of the application
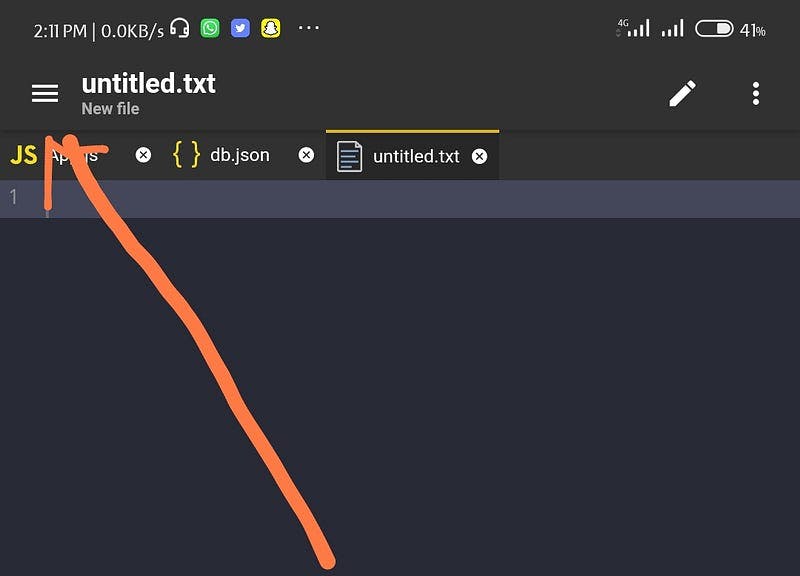
Then click on the open folder that will show up. When you click on the open folder the file browser is opened.
Here, you click on the plus sign at the top right corner of the application.

When that is clicked next is to click on the add path. When that is clicked, your phone’s root storage is opened then you select the termux folder and select the folder with the name of the react app you just created in the termux terminal. Click on it and give the folder a name for Acode folders. Then you click ok and select it. It should be similar to this at the end
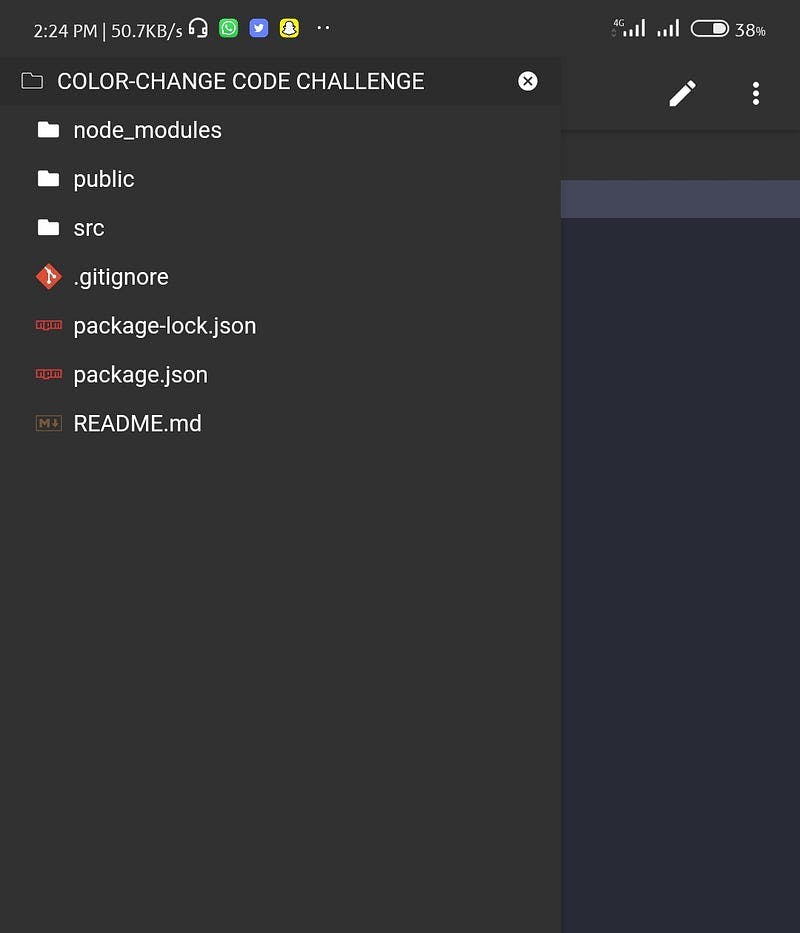
As you can see, all necessary packages are installed, and you can now start working on your react project from here. Click on the source folder and edit or create a component for your app. I think that will be for the future.
I am just starting to learn react, so this article will stop here for now. I will be writing about my progress in the future and what I have learned as well.
Do well to follow me for more articles on coding with mobile phones and web development as a whole.
Also, do well to drop a clap and a comment as it will encourage me to do better.
Thank you.